
How to Remove Chainsaw Flywheel: Practical Step-by-Step Guide for 2026
Master how to remove chainsaw flywheel assemblies safely with the right puller tools, piston stops, and ignition timing checks in October 2026.
 By Tony Flanders
Updated October 2, 2026
By Tony Flanders
Updated October 2, 2026

Diagnosing no-spark conditions, erratic timing, or air leaks around crankshaft seals often requires stripping a two-stroke saw down to its bottom end. When an engine suddenly backfires through the carburetor or refuses to catch despite fresh fuel and clean spark plugs, a sheared woodruff key or damaged ignition magnet on the rotor is frequently the root cause. Learning how to remove chainsaw flywheel components safely without warping the crankshaft stub or cracking cast aluminum fins represents one of the most critical bench skills for small engine upkeep. Rather than forcing delicate parts with makeshift pry bars, using dedicated pullers and locking accessories preserves your crankcase threads and bearings.
Many operators who tackle seasonal property clearing rely on secondary equipment like a dedicated pruning saw for garden upkeep to handle light overhead brush before firing up a primary gas powerhead. When that primary saw bogs under load or loses timing due to heavy timber duty, accessing the magneto and oil pump drive requires controlled mechanical leverage. Specialized extraction devices like the Hyceker Flywheel Puller Tool Kit for Stihl MS200T and Haishine 14MM Piston Stop Chainsaw Clutch Flywheel tool allow you to lock the combustion chamber and separate tapered shaft fits without destructive impact force. By pairing proper service procedures with the right shop gear, you can inspect crankshaft oil seals, replace worn pawls, and restore dependable cutting performance in no time.
| Award | Product | TGH Score About TGH ScoreThe TGH Score is our own rating from 0 to 10, based on performance, design and build, ease of use, and value. It reflects independent research and is never influenced by manufacturers, retailers, or affiliate commissions. Learn more › | |
|---|---|---|---|
| Best Overall |
ArtHoval Flywheel Knocker Removal Tool
|
9.2/10 | Buy |
| Best Budget |
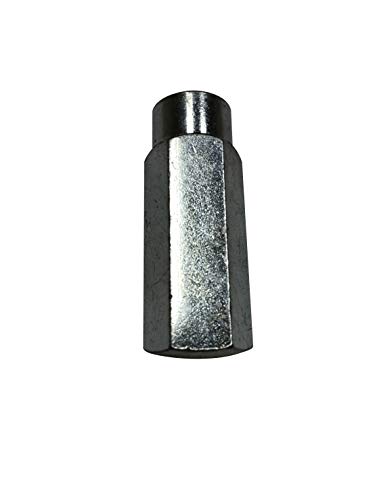 ENGINERUN Chainsaw Flywheel Puller Kit Removal
|
8.9/10 | Buy |
| Best Value |
 Hyceker Flywheel Puller Tool Kit for Stihl MS200T
|
8.9/10 | Buy |
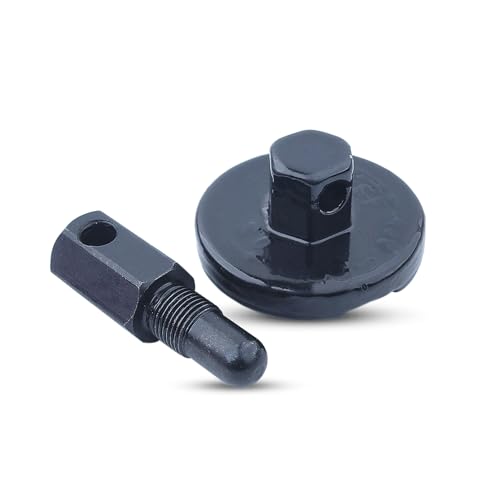 Haishine 14MM Piston Stop Chainsaw Clutch Flywheel
|
8.4/10 | Buy | |
 ZITKFEYX 14mm Piston Stop Tool
|
8.3/10 | Buy | |
 Piston Stop Chainsaw Clutch Flywheel Removal Tool
|
8.1/10 | Buy | |
 Chainsaw Flywheel Replacement
|
8.1/10 | Buy | |
| Best Premium |
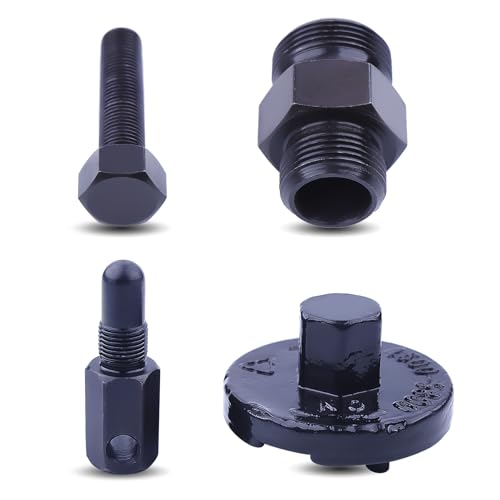 Adefol Chainsaw Piston Stop Tool
|
8.1/10 | Buy |
 AUMEL Chainsaw Clutch Removal Tool with Flywheel
|
7.8/10 | Buy | |
 DUANXY Clutch Flywheel Removal Piston Stop Tool
|
7.8/10 | Buy |
Complete Technical Guide on Flywheel Removal and Service
Removing a chainsaw flywheel requires breaking a high-friction tapered press fit on the crankshaft without damaging delicate engine components. The flywheel serves dual roles: its integrated permanent magnets trigger spark through the ignition coil, while its cast curved fins blow ambient cooling air across the cylinder head. Because manufacturers secure the wheel onto a tapered shaft under significant torque, prying against the magnesium engine crankcase will inevitably lead to cracked housings or bent crankshaft stubs. Executing this repair safely involves three fundamental stages: immobilizing the rotating assembly, unthreading the retaining nut, and applying axial extraction force through matched knockers or screw pullers.
Understanding Tapered Shafts and the Woodruff Key Interface
The crankshaft output on the flywheel side features a precisely machined conical taper that matches the bore of the flywheel hub. When torqued down during factory assembly, frictional contact between these two smooth metal surfaces transfers all rotational energy and locks the wheel in place. The small half-moon woodruff key or integrated cast aluminum key does not bear rotational driving torque during normal engine operation. Instead, the key merely indexes the angular position of the ignition magnets relative to the piston position near top dead center.
When an operator hits a severe chain bind or experiences sudden kickback that abruptly halts the drive sprocket, rotational inertia can shear a cast or separate woodruff key. A sheared key alters ignition timing, causing the spark plug to fire far too early or late relative to piston travel. This condition produces sudden backfiring through the carburetor, severe starter cord kickback, or complete failure to start despite visible spark. Disassembling the assembly using a dedicated knocker or puller allows you to inspect the taper for scoring and verify proper keyway alignment.
Essential Removal Tools and Mechanical Holding Strategies
Threaded piston stops serve as the primary mechanical restraint when breaking loose flywheel nuts or outboard clutch spiders. Accessories like the ZITKFEYX 14mm Piston Stop Tool or the Adefol Chainsaw Piston Stop Tool thread directly into standard 14mm spark plug ports found on many Stihl, Husqvarna, and Echo powerheads. When using a rigid metal stop, you must rotate the crankshaft by hand until the piston gently contacts the tool before applying wrench torque. This controlled technique prevents shock loading against the wrist pin, connecting rod bearing, and piston crown.
Some mechanics prefer feeding clean, flexible nylon starter cord through the spark plug opening as a non-metallic combustion chamber buffer. The cord bunches up above the piston crown, distributing mechanical resistance evenly across the piston face without concentrating pressure on a single contact point. Regardless of whether you select a dedicated metal stop or clean cord, never jam screwdrivers into cylinder exhaust ports. Prying against the cylinder casting or piston skirt through an open muffler port will break piston rings and ruin expensive cylinder wall plating.
Puller Mechanics: Dedicated Threaded Pullers vs. Knocker Sleeves
Professional workshop extraction kits often utilize external hub threads machined directly into the flywheel center casting. The Hyceker Flywheel Puller Tool Kit for Stihl MS200T features reversible 22mm and 26mm fine threads that mate with factory hub recesses on models ranging from top-handle arborist saws to heavy timber powerheads. Threading the puller collar fully into the flywheel hub ensures even load distribution across all available threads. Advancing the central thrust bolt presses directly against the crankshaft end, smoothly pulling the tapered hub free without any violent hammer strikes.
Another widely accepted workshop method involves sacrificial knocker sleeves such as the ENGINERUN Chainsaw Flywheel Puller Kit Removal tool or the dual-size ArtHoval Flywheel Knocker Removal Tool. These hardened fittings thread directly onto the 8mm or 10mm crankshaft stub, bottoming out so that striking the knocker transfers energy straight down the shaft axis. By threading the knocker until it leaves a slight clearance gap above the flywheel hub, a sharp, controlled tap with a brass mallet pops the taper loose while shielding crankshaft threads from mushrooming.
Step-by-Step Procedure for Safe Flywheel Disassembly
Begin by clearing your workbench and staging appropriate hand tools, including a combination scrench, deep-well sockets, and a soft-faced mallet. Remove the rewind starter assembly, top cylinder shroud, and side air baffle to gain complete visual access to the flywheel and ignition module. Disconnect the high-tension spark plug boot to ensure the engine cannot accidentally ignite while you rotate the crankshaft by hand. Clean any accumulated oily sawdust and wood chips out of the cooling fins using compressed air or a stiff brush to avoid getting debris into the crankcase.
Remove the spark plug and slowly rotate the crankshaft by turning the flywheel until the piston moves toward the top of its stroke. Thread your Haishine 14MM Piston Stop Chainsaw Clutch Flywheel tool into the cylinder head until hand tight. Rotate the flywheel clockwise by hand until the piston crown gently rests against the bottom of the stop tool. Using a six-point socket, turn the flywheel retaining nut counterclockwise to loosen and remove it, taking care to retain the factory Belleville conical washer.
If using a dedicated puller like the AUMEL Chainsaw Clutch Removal Tool with Flywheel kit, screw the outer collar firmly into the flywheel center threads until fully engaged. Turn the central jacking screw clockwise with a hand ratchet while stabilizing the puller body with an open-end wrench. You will typically hear a distinct mechanical pop as the taper releases its grip. If using a knocker sleeve, thread it onto the crank stub until it sits roughly one full turn away from the hub face, support the rear of the flywheel with light fingertip pressure, and deliver a firm tap to the knocker head.
Inspecting the Crankcase, Keyway, and Magneto Assembly
Once the flywheel lifts off the spindle, immediately examine the conical contact faces on both the crankshaft and inner hub. Look for fine metal galling, fretting corrosion, or stepped wear rings that suggest the flywheel was slipping during high-load bucking. Inspect the woodruff key or cast indexing spline inside the hub slot for rounding or cracks. If the keyway appears distorted or widened, the flywheel should be replaced using a sound part like the Chainsaw Flywheel Replacement to maintain accurate ignition timing.
With the rotor out of the way, you gain unhindered access to the flywheel-side crankshaft oil seal and ignition armature wiring. Inspect the rubber seal lip for hardening, tears, or wet two-stroke oil leakage that indicates a crankcase vacuum leak. An unmetered air leak through a worn oil seal leans out the fuel-air mixture, causing erratic idle speeds and destructive engine overheating under load. Make sure the primary kill switch wire and ignition coil leads have not chafed against sharp metal ribs within the crankcase casting.
Reinstallation, Woodruff Key Alignment, and Torque Requirements
A tapered friction joint cannot hold sustained engine torque if oil, fuel, or grease residues remain on the conical faces. Spray electrical contact cleaner or quick-drying degreaser onto a lint-free cloth and thoroughly wipe both the crankshaft taper and flywheel bore. Never apply anti-seize compound, oil, or bearing retaining compounds to a tapered crankshaft joint. The joint relies exclusively on dry, metal-to-metal frictional wedging to transfer rotational power without shearing the woodruff key.
Place the woodruff key into its crankshaft slot, ensuring it sits squarely in the half-moon pocket without tilting or binding. Slide the flywheel onto the shaft, gently rotating it until the internal keyway slips smoothly over the key without pushing it out of position. Reinstall the factory Belleville washer with its dished, concave surface facing the flywheel hub so it maintains tension under vibration. Reinsert your Piston Stop Chainsaw Clutch Flywheel Removal Tool into the spark plug hole, rotate the crank until the piston seats, and torque the retaining nut firmly according to factory shop manual specifications.
Setting Ignition Coil Air Gap and Starter Pawl Function
Proper ignition performance depends on maintaining an exact air gap between the rotating flywheel magnetic poles and the stationary ignition coil armature laminations. Loosen the two coil mounting bolts so the ignition module can slide freely on its slotted brackets. Rotate the flywheel until the integrated magnet poles face directly toward the coil legs, then slide a non-magnetic feeler gauge or plastic business card measuring approximately 0.010 to 0.012 inches between the magnets and coil. Allow the magnetic attraction to pull the coil firmly against the gauge, tighten the retaining fasteners, and slide the spacer out.
Before reinstalling the recoil starter housing, inspect the starter pawls, torsion return springs, and plastic bushings mounted to the flywheel face. These spring-loaded dogs must pivot freely without sticking in their recessed pivot pockets. If the pawls stick outward due to dried sap or dirt, they will grind against the starter pulley while cutting firewood. When preparing your work area for extensive bucking, having auxiliary cutting gear like manual limb-clearing tools nearby allows you to clear surrounding branch clutter before conducting run-up tests on your freshly serviced powerhead.
Troubleshooting Common Flywheel Service Pitfalls
The most common amateur repair mistake involves striking an exposed crankshaft stub directly with a steel hammer without a protective knocker or nut in place. Impacting bare threads mushrooms the end of the shaft, preventing the retaining nut from threading back on and often requiring costly crankshaft replacement. Similarly, jamming large pry bars beneath the outer rim of the flywheel applies uneven bending loads against thin magnesium crankcase flanges. If the rim bends or losing cooling fins causes rotational imbalance, the engine will vibrate violently and prematurely destroy its main crank bearings.
When using multi-brand puller sets like the DUANXY Clutch Flywheel Removal Piston Stop Tool, always verify thread pitch compatibility before applying leverage. Forcing an incompatible puller thread into soft aluminum hub threads will strip the extraction bore, leaving you with few options for mechanical removal. Likewise, always start your piston stop tool by hand to avoid cross-threading aluminum cylinder heads. Tighten the stop only until snug, and never spin an engine against a piston stop using an air or cordless impact wrench.
Mechanical Verification and Safe Field Recommissioning
Once the starter housing, top cover, and guide bar assembly are reattached, conduct a systematic mechanical check before fueling the tank. Disengage the inertia chain brake and pull the starter cord slowly by hand to confirm the starter pawls catch smoothly and release without metallic scraping. Verify that the flywheel does not contact the ignition coil armature at any point during full 360-degree crank rotation. Check that the spark plug is torqued securely with a fresh crush washer and that the ignition lead snaps firmly over the terminal stud.
Start the chainsaw in a clear outdoor space following standard three-point contact procedures on the ground with the chain brake locked. Allow the engine to idle for two minutes, listening carefully for unusual bearing rumblings or erratic idle wandering that might indicate air leaks or ignition timing drift. Once up to operating temperature, blip the throttle to confirm crisp acceleration from idle to wide-open throttle. By methodically utilizing designated extraction tools and respecting precision mechanical tolerances, you ensure your chainsaw delivers dependable cutting power through the toughest timber seasons ahead.
About the author
Tony Flanders is an experienced astronomy writer and observer with a background in mathematics, technical research, and science communication. His extensive observing experience includes exploring deep-sky objects through different telescope configurations. He specializes in making complex astronomical concepts accessible to beginners and experienced observers alike.